Posted on 3 Comments

Wire Button Bail

Hi, gang.  I have been sqeezing in studio time here and there, working on a grouping for the shop downtown.  When my son was born in October he slept all the time, so I was able to keep making jewelry for the Christmas season. 

My newest studio helper

But as Bowen has gotten older his naps don’t usually coincide with Olivia’s naps, so now my bench time is that much more precious.  I apologize if I don’t update my blog a whole lot; it’s just something I’ve had to cut out along with listing jewelry for sale online. 

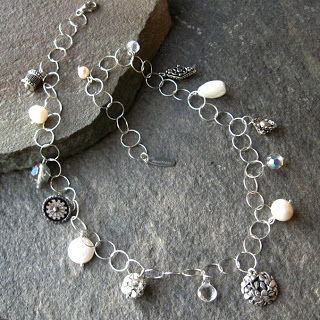
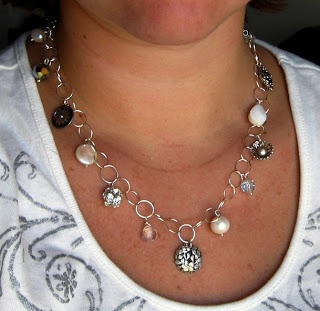
A while ago I found some old steel cut buttons in an antique store.  They were from the estate of a button collector, lovingly arranged on a card.  I took one off to give to a friend who loves romantic-vintage stuff like that.  The second one came off the card today when I was creating this sampler necklace inspired by another that sold right after I made it. 

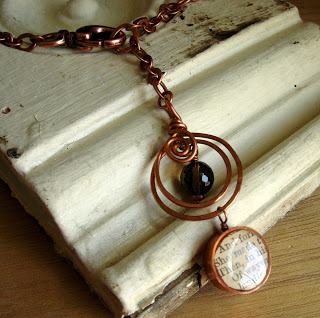
The floral centerpiece is a PMC piece I made, and the dangles include freshwater pearls, vintage crystals, sterling silver beads, quartz, and an antique button from my precious stash.  If you’ve ever tried to dangle a shank button without having it tip forward or altering the shank, you know my challenge for today’s studio time.  Now I’m sharing my tricks with you.  Here is the bail I created as a solution.

Reverse side
Forming the loops after putting the wire through the shank is harder than it looks, especially when using half-hard wire.  Once I did that, though, I squeezed the loops tight around the shank so the bail wouldn’t jiggle.  Then I pressed the top of the bail forward so it would sit close to the top of the button (the center of gravity) to prevent the whole thing from tipping forward.

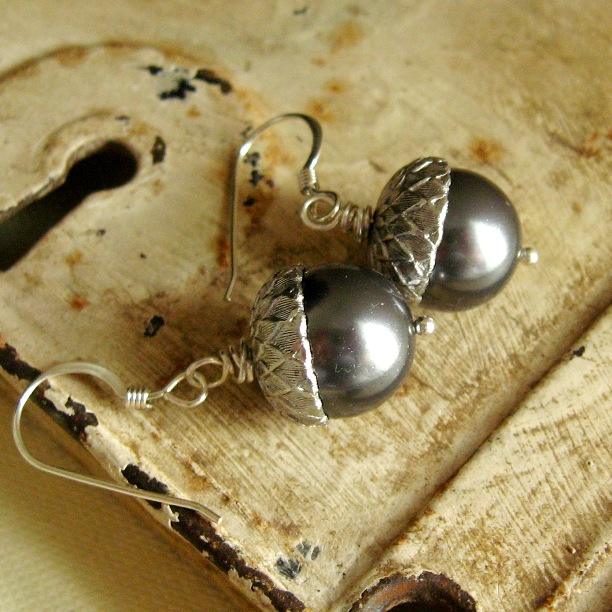
I did something similar with a big, orphan bead cap that has been laying on my bench for awhile.  Rather than capping a huge bead, I wanted to frame a small pearl but I didn’t want it to hang face-down.
I threaded the pearl, bead cap, and a small sterling bead onto a headpin, which I then bent sharply so it would stay put.  I bent the headpin to follow the contour of the bead cap, through a hole in the cap’s edge, and into a hanging loop.

Posted on 2 Comments

Jewelry making: The gift that keeps on giving

I got this email today:
“Dear Anne,

I would like to buy a quality kit and tutorial for my 14 year old niece who is very creative. However, I can only spend about $30.00. Do you have any suggestions?  Thank you for your help.
Warmly, Jennifer”
First of all, it sounds like Jennifer is gunning for Cool Aunt status.  What a neat idea for a Christmas gift.  I suggested she keep it simple and stick to one type of jewelry: earrings.  Simple drop earrings are a really basic technique but one can do a lot with it just by varying the size, shape, and color of the beads. Maybe add a bead cap, or with a pair of beads try the big bead on the bottom vs. the big bead on the top.  I suggested that Jennifer print out the supply list my Earring Basics tutorial and head to the craft store. 
If you want to put together a kit for someone on your Christmas gift list to make simple drop earrings, she’ll need round-nose and chain-nose pliers, wire cutters, packages of headpins and earhooks, some practice wire around 20-24 gauge and (if there’s room in the budget) a small assortment of beads.  That way you’ve provided what the recipient needs to practice making loops and then several pairs of earrings.  Then she can pick out more beads on her own to suit her taste.  Plus, with that practice wire and her extra beads she can make a Link Bracelet (free tutorial download).
Jewelry making: The gift that keeps on giving!
Posted on 1 Comment

Messy Wraps

A lot of things I do go in phases.  I get obsessed, I wear it out, I move on.  Okay, maybe not quite that extreme, but I am pretty fickle about what I’m into; it’s always subject to change.  One trend I’ve noticed in my wirework is a departure from perfect wrapped loops…

Free tutorial on my website
(Link Bracelet)

…in favor of something more organic looking.  I call these messy wraps.

They kinda remind me of tornado beads.

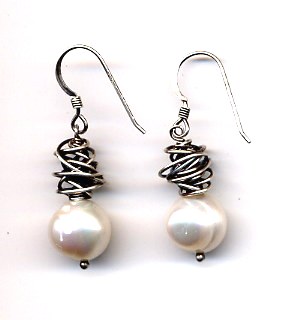
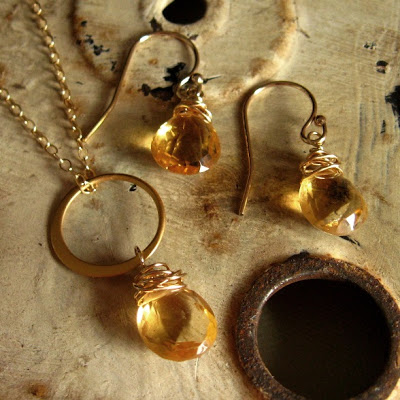
Sure, messy wraps use more wire than coiling, but we’re talking about 22- to 26-gauge “little guy” wire here. And it’s actually easier for me to tuck in the tip of the wire if I do messy wraps instead of perfect coils on briolettes.  Dare I say they look more interesting as well?

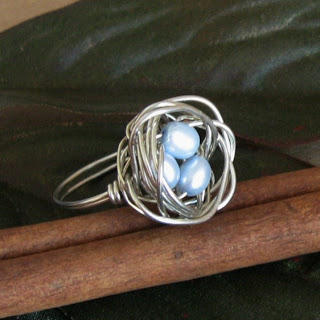
And messy wraps are a subtle nod to my beloved bird’s nests.

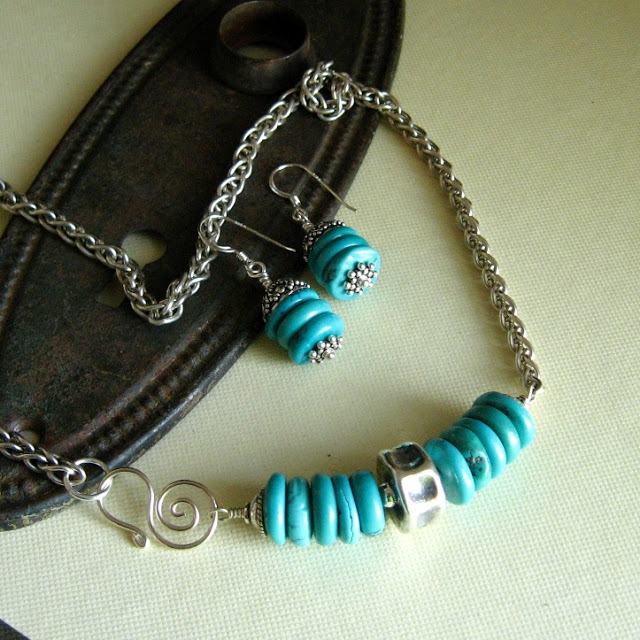
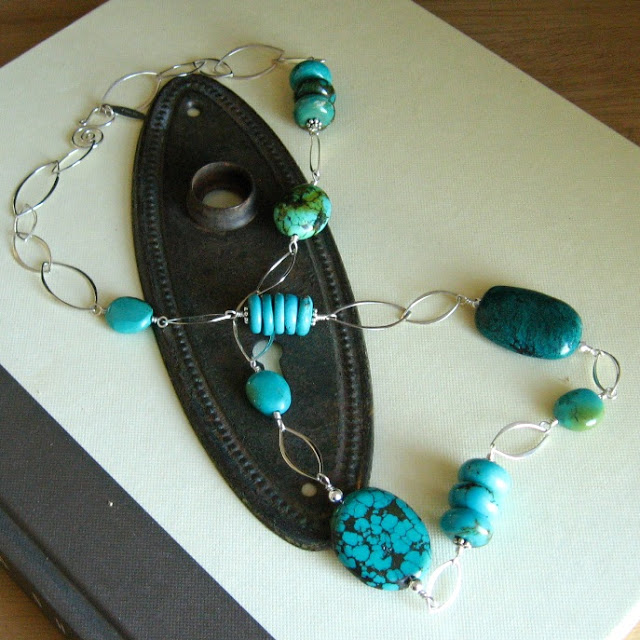
But wait!  There’s more!  The other day I was on a turquoise kick and strung some simple strands of beads into necklaces.  (Why do I always feel like I have to come up with something new and different when making jewelry?  Why do I fight the feeling that *just* stringing beads is uninspired?  Sometimes simple is elegant.)  This is actually a strand of chrysocolla, but it coordinated nicely with the turquoise grouping. 
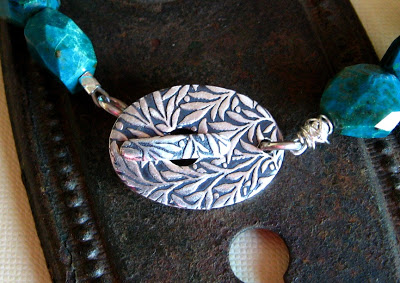
I wanted the wearer to be able to put this willow toggle clasp at the front, and I love twisted crimps because they feel so solid, but I don’t think they’re pretty enough for the front of a necklace (left side of photo).  And they’re too big and flat to fit inside my 2mm crimp covers so necessity led to invention.  Rather than order and patiently wait for larger crimp covers, I messy-wrapped the crimps in fine-gauge wire (right side of photo).  This also helps take up slack if you decide that your stringing wire is a bit too long after you crimp.  Not that this ever happens to me.
  
Posted on

Two New Tutorials

Custom Texture Sheets for Metal Clay or Polymer Clay

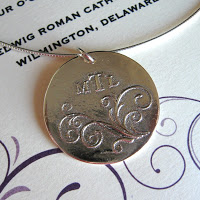
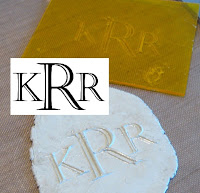
Remember this custom pendant I created from a wedding invitation?  Now you can make your own raised monograms, or you can type out a phrase in a pretty font to use again and again instead of stamping each letter individually.  Like this.
Vertebraid Bangle
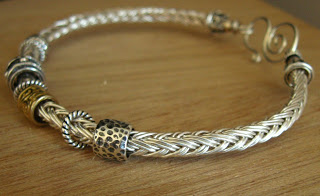
This is a square/round (as opposed to flat) braid created with doubled strands of fine-gauge wire.  It makes an interesting base for sliders or Pandora beads.  Click here for the tutorial.
I had this braid sitting on my desk all summer; I’d pick it up and work on it when my computer was busy processing so I don’t really know how long it took me to braid. I think it takes less time than Viking Weave, but then again it depends on your proficiency at each.
Enjoy these new projects!
Posted on

Confessions of a beadaholic

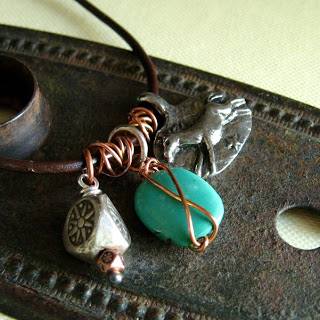
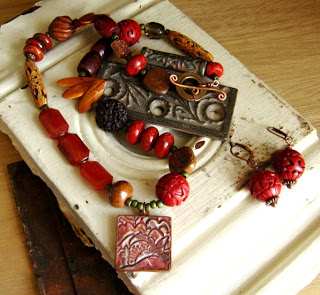
My dad has a work area in the basement of our family cabin in the mountains.  It’s a place to tinker with things and to store his tools.  He has screws and bolts and washers organized in old baby food jars nailed through the lids to the under side of the stairway.  I wish I had a photo, it’s really quite clever.  Anyway, my post today was not about how to store tiny things like beads so they are visible, but to confess that I recently raided his stash for some rusty old pieces to use as jewelry components. 

The locking washer was actually split on one side, so I wired it together with sterling and it now serves as part of the clasp.  I tumbled the components and sealed them so I don’t have to worry about rust stains on clothing.  There’s nothing like real patina on metal.